There is no single bioprinting technology. There are four distinct ways to place living cells in three dimensions, each with a different physics, a different price, and a different answer to the question every lab has to settle first: how much cell damage will you accept in exchange for how much precision?
The pipeline from scan to tissue
Whatever the printing method, the surrounding process is broadly the same. It is worth holding the whole sequence in view, because the printing step — the part that looks impressive on video — is often the fastest and least troublesome part of the job.
- Imaging. A CT or MRI scan of the patient is segmented into a three-dimensional model of the target structure.
- Design. The model is refined into a printable blueprint: outer geometry, internal channel architecture, which cell type sits where, and what density each region needs. This is where most of the biological thinking happens.
- Slicing. Software converts the blueprint into layers and toolpaths, accounting for nozzle diameter, flow rate and how much the material will spread after deposition.
- Cell expansion. A small biopsy is cultured up to the tens or hundreds of millions of cells a construct needs. Typically the longest stage, often several weeks.
- Bioink formulation. Cells are suspended in the chosen hydrogel at a controlled density and loaded into cartridges.
- Printing. Minutes to a few hours, in a sterile enclosure.
- Cross-linking. The construct is set — by light, ions, temperature or enzyme — so it holds its shape.
- Maturation. Days to weeks in a bioreactor, with nutrient perfusion and mechanical conditioning, until the construct behaves like tissue rather than like a gel full of cells.
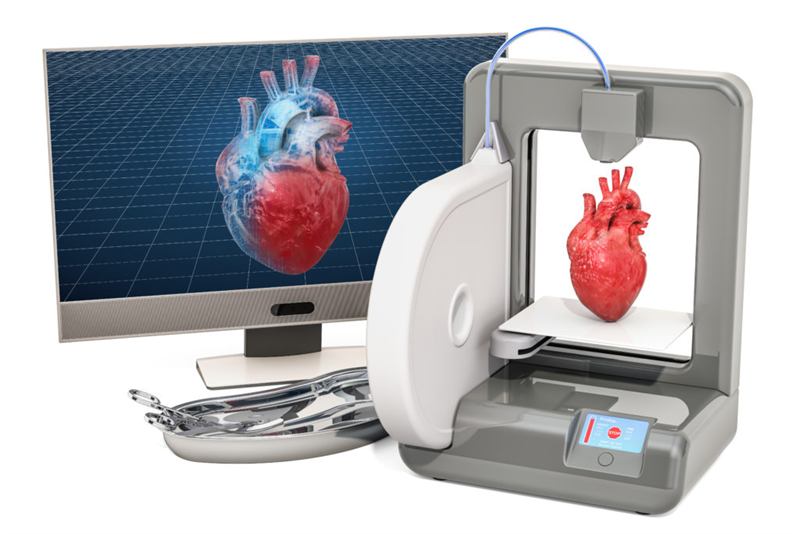
Extrusion bioprinting
A piston, screw or pneumatic pressure pushes bioink through a nozzle as a continuous filament, which the print head draws in a pattern layer by layer. It is the workhorse of the field: perhaps three quarters of published bioprinting studies use it.
Its advantage is tolerance. Extrusion handles thick, viscous materials that other methods cannot, which means it can print at high cell densities, place several materials in one construct, and produce objects at centimetre scale in a reasonable time. The hardware is also comparatively cheap, which is why almost every university tissue-engineering lab owns one.
Its weakness is shear stress. Forcing a cell-laden gel through a narrow opening subjects cells to mechanical strain that damages membranes. Reported viability after extrusion is commonly in the region of 80–90 per cent, and it falls as nozzles get narrower or pressures rise. Resolution is correspondingly modest — features of roughly 100 micrometres and upwards, coarse compared with the cellular scale of real tissue.
Inkjet bioprinting
Adapted directly from desktop document printing, and historically the first method used: in 1988 Robert Klebe demonstrated that a modified inkjet printer could deposit cells in patterns. A thermal or piezoelectric actuator generates a pressure pulse that ejects a droplet of cell suspension on demand.
Inkjet is fast, cheap and gentle — viability above 85 per cent is routine — and it can achieve finer resolution than extrusion, down to tens of micrometres. It is also non-contact, which helps with sterility.
The catch is viscosity. Droplets only form cleanly from thin, watery inks, which rules out the stiffer materials needed for structural constructs and caps cell density. Nozzles clog. And because a thin ink cannot support much weight, inkjet is best suited to thin, planar tissue — skin and cartilage sheets rather than three-dimensional organs.
Laser-assisted bioprinting
Also called laser-induced forward transfer. A ribbon carries a laser-absorbing layer coated with cell-laden hydrogel. A focused laser pulse vaporises a spot on the absorbing layer, and the resulting bubble propels a tiny volume of bioink onto the substrate below. There is no nozzle at all.
Removing the nozzle removes the clogging and most of the shear stress, and viability above 95 per cent has been reported. Resolution is the best of the deposition methods — single-cell placement is achievable — and it works across a wide viscosity range.
It is also slow, expensive, and awkward to scale. Preparing ribbons is laborious and each one holds a limited amount of material. Laser-assisted printing is therefore mostly a research tool for small, high-precision constructs, with skin as the main application that has been pushed towards production. The French company Poietis has built its platform around it.
Light-based and volumetric printing
Stereolithography and digital light processing cure a photosensitive bioink with patterned light. Rather than tracing a path point by point, a projector exposes an entire layer at once, so print time depends on the number of layers, not on how complicated each one is. Resolution is excellent and shear stress is essentially zero.
The constraint is chemistry. The bioink must be photocurable, and the photoinitiators and ultraviolet or blue light involved can damage cells and DNA if the exposure is not carefully controlled. Visible-light initiators have made this considerably safer than it once was.
The most striking recent development is volumetric bioprinting, in which light is projected into a rotating vial of resin from many angles at once, so that the accumulated dose exceeds the curing threshold only where the target object sits. The whole construct forms simultaneously, in tens of seconds rather than hours. Groups in Utrecht and at EPFL demonstrated centimetre-scale living constructs this way, which matters because shorter print times mean less time for cells to sit in a suspension that is slowly starving them.
Side-by-side comparison
| Method | Resolution | Typical viability | Speed | Cost | Best for |
|---|---|---|---|---|---|
| Extrusion | ~100 µm and up | 80–90% | Moderate | Low | Thick, multi-material constructs |
| Inkjet | ~20–100 µm | >85% | Fast | Low | Thin sheets, high-throughput arrays |
| Laser-assisted | Single cell | >95% | Slow | High | Precise, small, delicate constructs |
| Light-based (SLA/DLP) | ~10–50 µm | 85–95% | Fast per layer | Medium | Complex internal geometry |
| Volumetric | ~20–100 µm | High | Seconds | High | Fast, centimetre-scale constructs |
Treat these figures as typical ranges, not specifications. Viability in particular depends heavily on the cell type, the bioink and the operator, and published numbers are usually measured within a day or two of printing rather than after weeks of culture.
Support baths and sacrificial inks
Two tricks do more than any hardware improvement to make soft materials printable.
The first is embedded printing. Instead of depositing bioink into air, where a soft gel would immediately collapse, the nozzle prints inside a bath of granular support material that behaves like a solid at rest and a liquid under the moving nozzle. The filament is held in place until it is cross-linked, and the bath is then melted or washed away. The best-known implementation is FRESH — Freeform Reversible Embedding of Suspended Hydrogels — developed in Adam Feinberg's laboratory at Carnegie Mellon, which made it possible to print collagen, one of the softest and most biologically desirable materials, at useful scale.
The second is the sacrificial ink. A material such as Pluronic F-127 or a carbohydrate glass is printed along the path where a channel is wanted, the surrounding tissue is cast or printed around it, and the sacrificial material is then dissolved and flushed out. What remains is an open, perfusable channel that can be seeded with endothelial cells to form a vessel lining. This is currently the most practical route to a blood supply inside a printed construct.
Maturation in the bioreactor
A construct straight off the printer is not tissue. It is cells suspended in a gel in approximately the right arrangement. Turning it into tissue means giving the cells the conditions under which they will build their own extracellular matrix, form junctions with their neighbours and specialise.
A bioreactor supplies that: controlled temperature, gas exchange, continuous nutrient perfusion so that the interior does not starve, and mechanical conditioning appropriate to the tissue. Engineered blood vessels are exposed to pulsatile flow, cardiac constructs to electrical pacing, cartilage to cyclic compression, tendon to tension. Mechanical loading is not a refinement; tissue that never experiences it never develops realistic strength or alignment.
This stage typically runs for days to weeks, and it is the point at which many otherwise promising constructs fail — the centre dies for want of oxygen, or the cells never mature past a foetal-like state. It is also the least photogenic part of the process, which is why it is rarely the part you see in a press release.
Keep reading
- Bioprinting basicsStart here if you are new
- Bioinks explainedWhat goes through the nozzle
- Printed organsWhat these methods have produced
- GlossaryFRESH, LIFT, GelMA and the rest
Last reviewed . Educational information only — not medical advice.